

One thing I really enjoy is repurposing old furniture! I can remember as a teenager striping old furniture with my Gram and Pap at their house. My sister Natalie and I repurposed an old oil bench and turned it into a beautiful kitchen island. (Which my parents sold with our house in Mt. Union, PA! 🙁 I do not have any pictures of that island!) I have always enjoyed a good DIY project and these are a few of the projects I did before I got married.
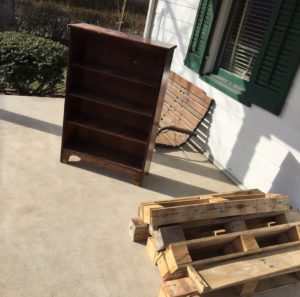
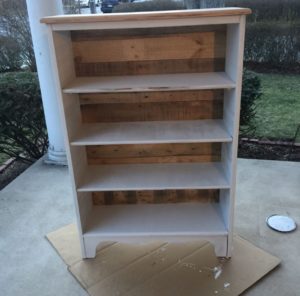
I got this shelf at a place called G&R. If you like to look at old furniture and little “nick nacks,” or are looking for some odd and end pieces for a project, G&R is a great place to see if they have what you need! I bought this solid wood shelf for $10 and the pallet wood I got for free. I took the back off the shelf and sanded the shelf down to the original wood. Then I painted the shelf white leaving the top natural wood to match the pallet wood. I “distressed” the white, then cut the pallet wood and attached it to the back of the shelf! This shelf is now in my living room!
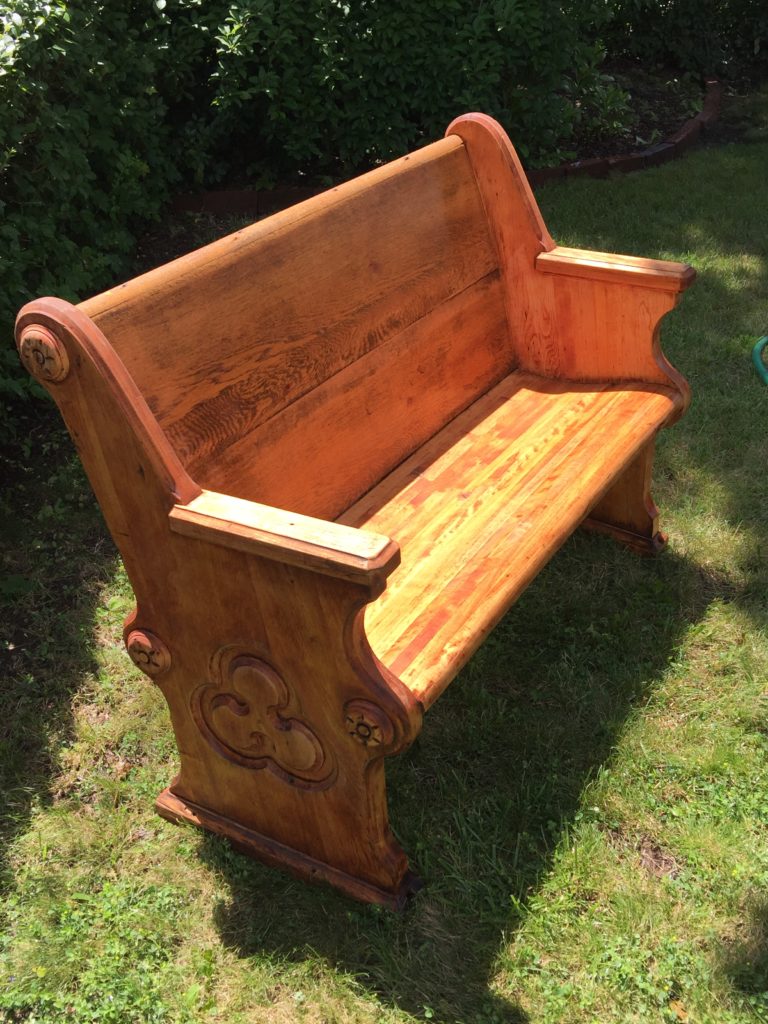
This church pew project is by far one of my favorites! We had someone give our family three solid wood OLD church pews! They are beautiful and I knew I wanted one! I also knew I was not going to get a 10ft church pew in by little apartment. I decided to take off one end of a pew, cut it down to the size I wanted and reattach the end of the pew! I will admit, my amazing carpenter of a father 😉 helped me with this project. It did take some hard work to put the end back on the pew, because of the original craftsmanship. Once we got it together, I had to remove all the gum (not a joke) and original stain from the pew. I stripped and sanded is down and restained the wood! I love the finished project and was worth every hour of the hassle! It sits in our entryway and my husband sits on it SEVERAL times a day!
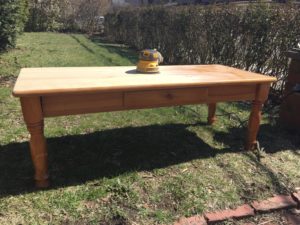
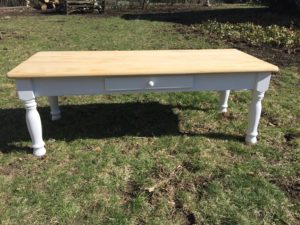
This was also a G&R find. I don’t remember how much I paid for it, but I don’t spend a lot of money on used furniture, so I am guessing between $10-$15! This project was fairly easy. I just sanded it down to the original wood and painted the bottom white. I left the top the original wood (to match my shelf) and just put a clear coat on the top to protect the wood. After distressing the white, so some of the original wood could shine through, I called it a day!
Projects like these, are fun, rewarding to look at, and save lots of money! I would love to see some of your DIY furniture projects! Currently most of my projects are involving a baby nursery! That room has been full of sewing and wood projects! That post will be coming soon!